Big Side Braid – Hair Tutorial
Braid Tutorials
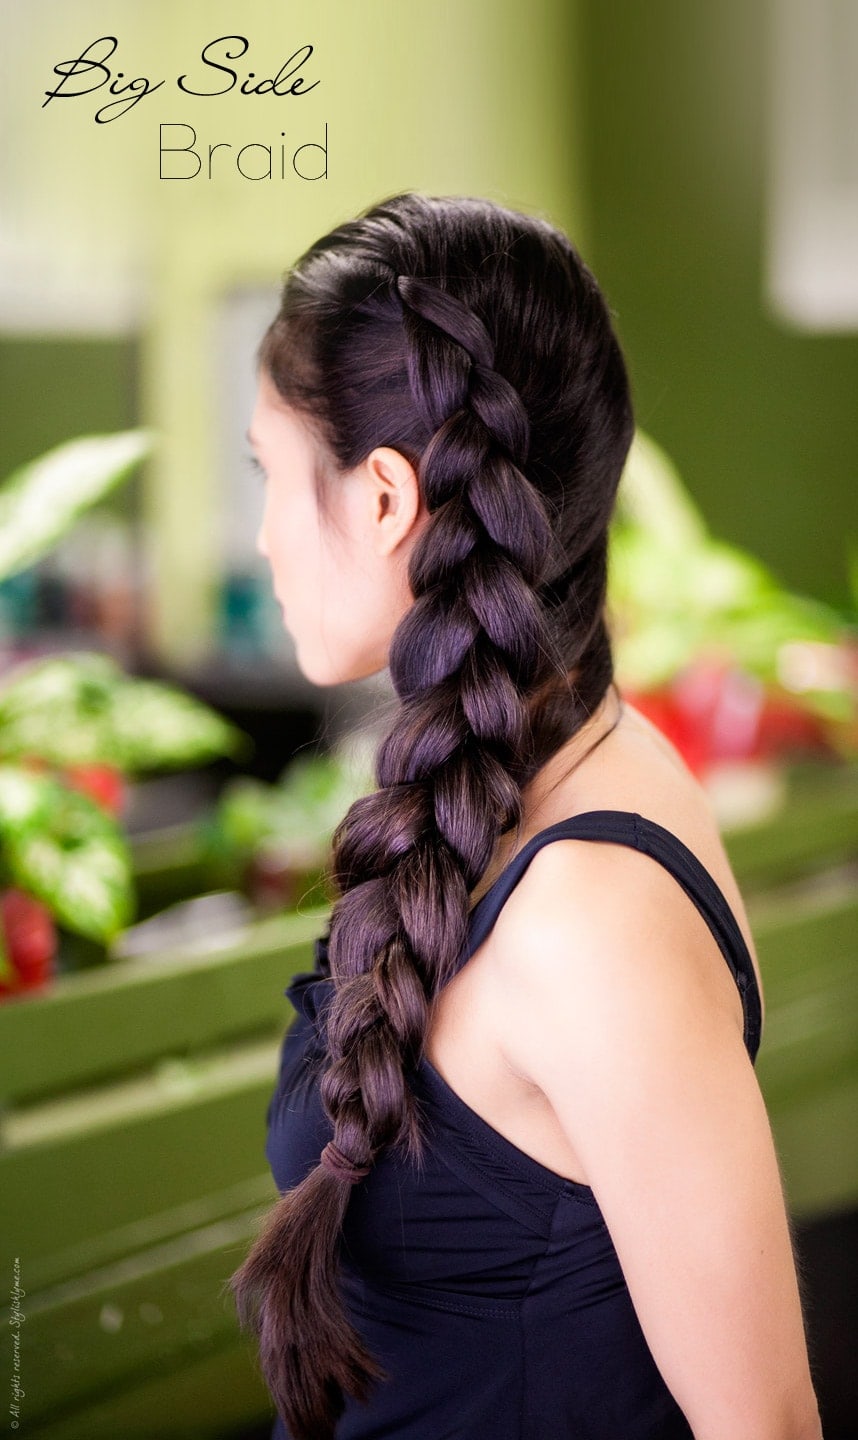
If you want a big side braid this hair tutorial is for you!
If you have thin hair, or even if you don’t, this braid will make your hair look instantly fuller. A simple extra step is all you need to give your braid fullness and make it twice as large.
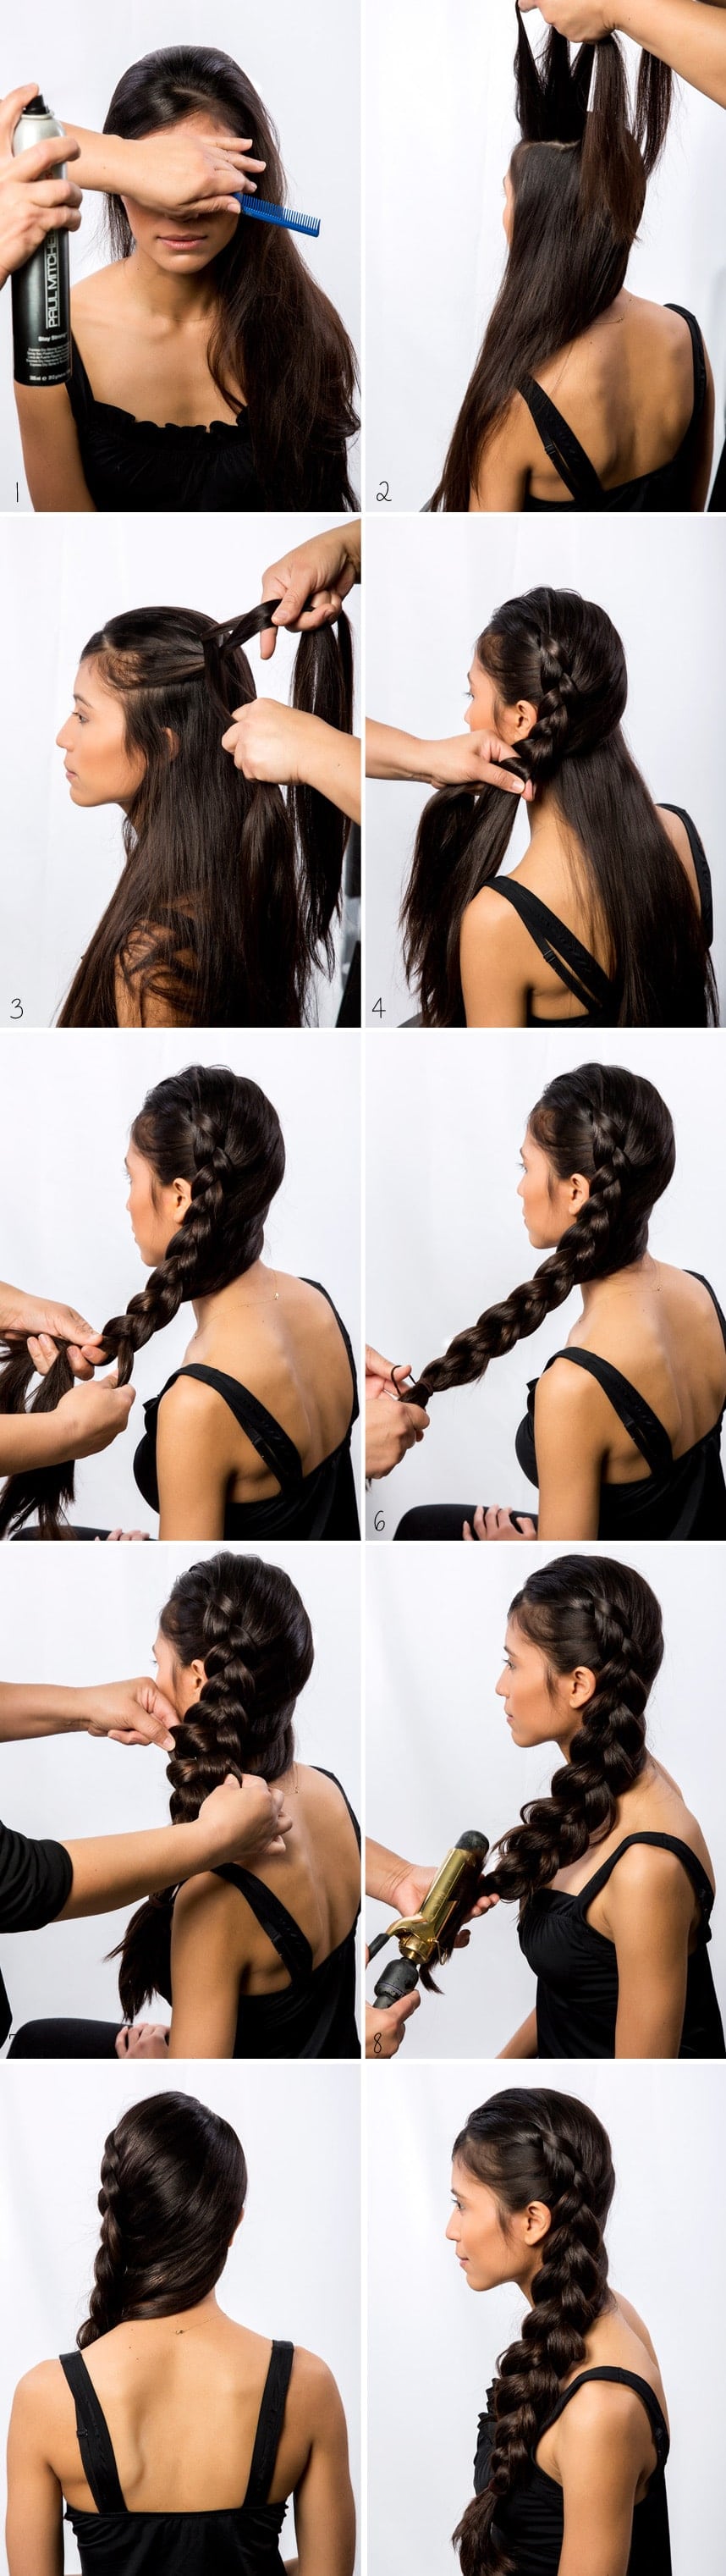
8 Steps to Create a Large Side Braid
Supplies:
- Wide Tooth Comb
- Styling Comb
- Aerosol Hairspray
- Bobby Pins
- Hair Tie
- Large Barrel Curling Iron
Side Braid Instructions:
Start this side braid tutorial with clean, dry and untangled hair. It’s best to use a wide tooth comb to untangle your hair.
- In this first step you decide how you want to part your hair and how you want your bangs to lie, if you have bangs of course. In this example we combed all my hair back and just left a small side section in the front for the illusion of bangs. Spray the front of your hair with aerosol hairspray to keep it all in place.
- Bring all of your hair to the left side. Separate a small portion of your hair on the top left side and section it into three strands.
- Once you have your three stands start braiding your hair diagonally and down. This will give your braid a nice curve instead of having it go straight down.
- This french braid will be along the left side of your head so you want to grab the sections of hair, for your french braid, from the right. This will have the end result of having all your hair sweeping to the left side.
- Continue braiding until you don’t have any loose hair. Your french braid will be completed but continue braiding a normal three strand braid.
- Once you’ve reached the end of your hair length tie the end with a hair band. You can use any type of band you like, just make it’s secure.
- This is the step where you make your braid fuller. Start at the top of your braid and with two hands pinch and pull on your braid in opposite directions. Don’t pull too hard as you don’t want the braid to come undone. Continue pinching and pulling the braid until you reach the bottom, this step will create the large braid look.
- Depending on how your ends looks you might want to curl them to give them a prettier look.
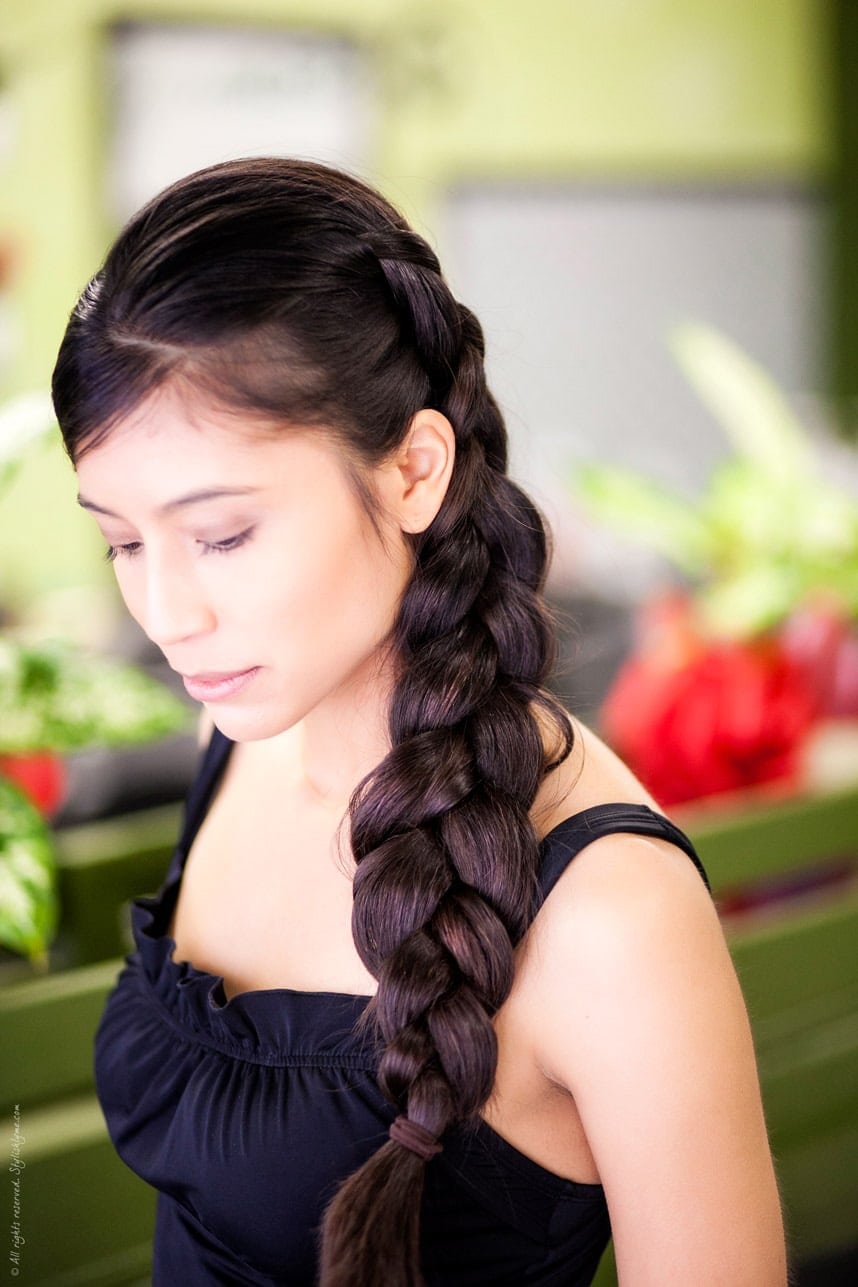
There you have it!
Leave me a comment or tweet me a photo if you try this hairstyle!
Stay Stylish,
-V
PS: If you loved this braid tutorial you need to take a look at 10 Braids for Long Hair blog post.


20 stilvolle Side Braid Frisuren für langes Haar - DEİN STİL
[…] Holen Sie sich das Tutorial von Stylish Lyme! […]
Best 20 Stylish Side Braid Hairstyles For Long Hair – New Hairstyles | Ratakan
[…] Get the tutorial elegant Lyme! […]
twenty Stilvolle Part Braid Frisuren für langes Haar - Neue Stil Haar
[…] Holen Sie sich dieses elegante Lyme Tutorial […]
20 Stilvolle Side Braid Frisuren für langes Haar - Lange Frisuren
[…] Holen Sie sich das Tutorial von Stilvolle Lyme […]
20 Stylish Side Braid Hairstyles For Long Hair
[…] Get the tutorial from Stylish Lyme! […]
Mag KP
Great guide. I just need such beautiful hair to follow it 😉
fashionfascinate.blogspot.com
Patricia
Great post! I will try to do it at home!
xoxo
http://www.bloglovin.com/en/blog/4487669
STYLE BY ALINA
OMG, this is so gorgeous. Love the tutorial, I really want to try it now!
xo, Alina
STYLE BY ALINA
Alissa
I LOVE this! Pinning it right now!
gigi
wow! lotsa cool stuff you can do with long hair! love the hair posts btw. this is a really great look! xx. gigi. http://www.gigikkitchen.com