Start your fashion blog today!
Well then, you might like, love, or if you’re like me, be obsessed with fashion and style.
Maybe you’ve thought to yourself, “I’d like to share my style and endless amount of fashion inspiration with the world.” If this thought has crossed your mind then you’re probably wondering how to start a fashion blog!
Stop putting it off and start your fashion blog today!
The technical side might be a roadblock in getting started, so I’ve put together three simple steps to get your blog up and running today!
Disclaimer: Some of the links below are affiliate links, and I will earn a commission if you purchase through those links. I have used all of the products listed below and recommend them because they are helpful and are companies that I trust, not because of the commissions that I may earn from you using these products.
How to Start a Fashion Blog in 3 Steps
- Domain Name and Hosting
- Install WordPress
- Make it Stylish
1) Get a domain name and hosting
Do you have the perfect blog name in mind? I know you’ve thought about it before. My domain is https://stylishlyme.com. My boyfriend and I came up with the name while traveling after the idea of starting a fashion blog struck our minds, well, more like his mind.
Think of something catchy, fun, unique, a reflection of you and your style. You may have to try many different names if your first choice is taken.
You will need to purchase your domain and your hosting. For non-techies, hosting is like your blog’s home – this is where your blog will live. So get it a good home :). I recommend
bluehost (known as self-hosted).
I’m happy with the service they provide and like how quick the customer service is if I need help. I’m currently on a Business Plan, which I pay annually rather than monthly – it’s easier for me to manage.
To get started, review our highlighted steps below then head over to bluehost
and get started. You can also open bluehost in a new tab and keep this step by step process to make it easier for you.
Make sure to click on the deal on the homepage for $3.95 per month for the first year! If not you’re going to pay $25 per month.
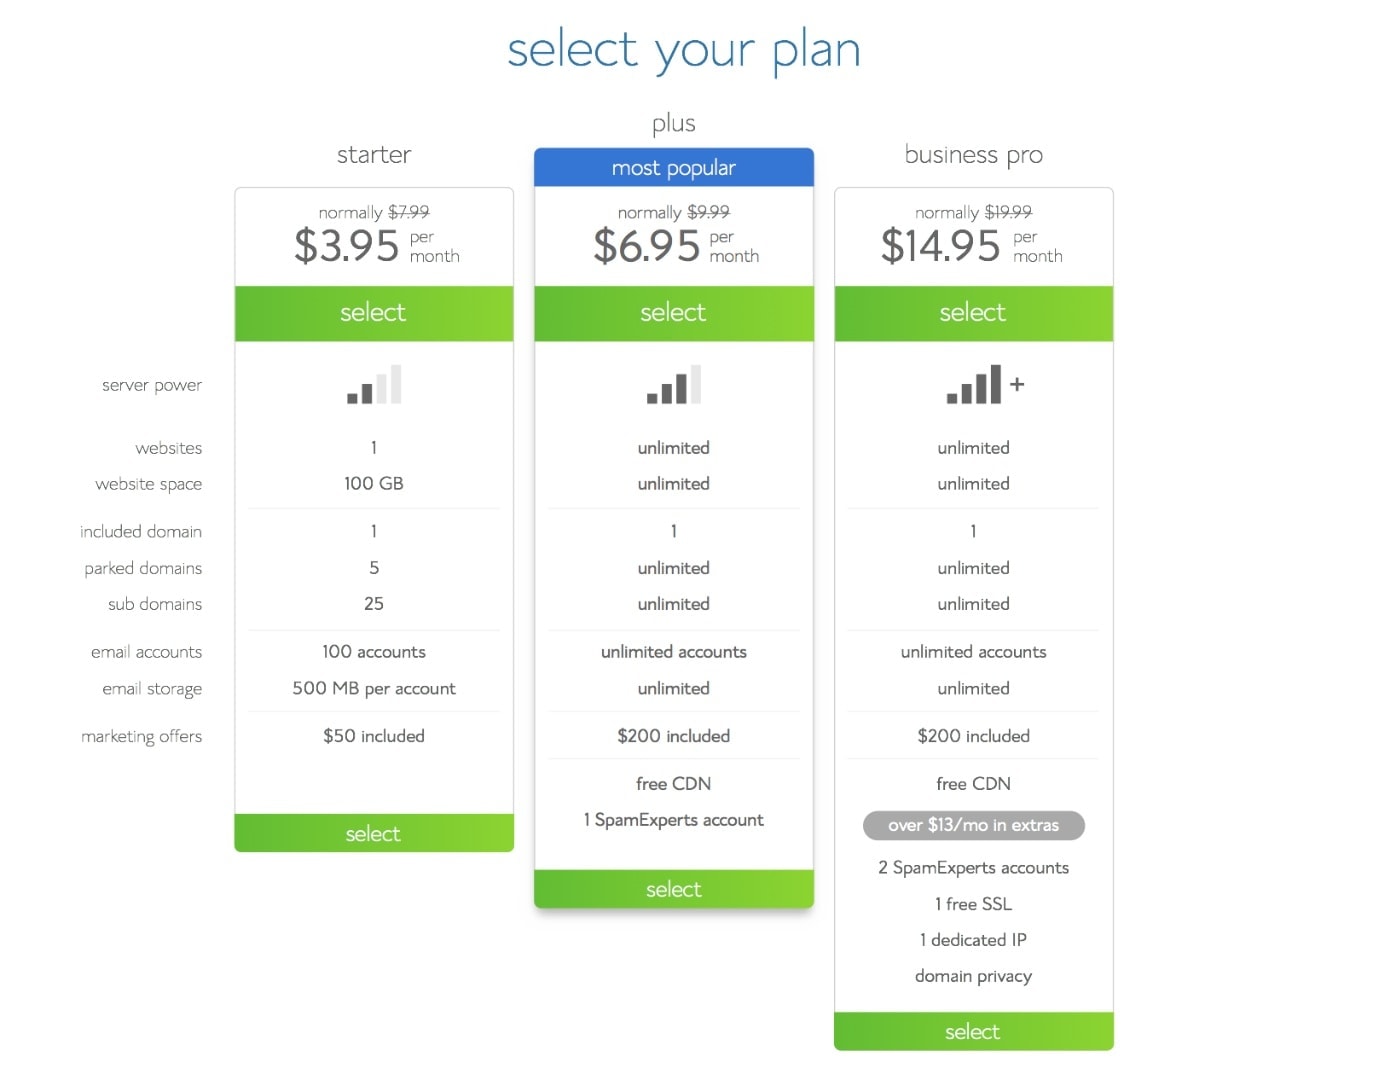
Since you’re just starting out you can choose the “starter” plan. If in a couple of months your blog is doing awesome with lots of traffic you can always upgrade.
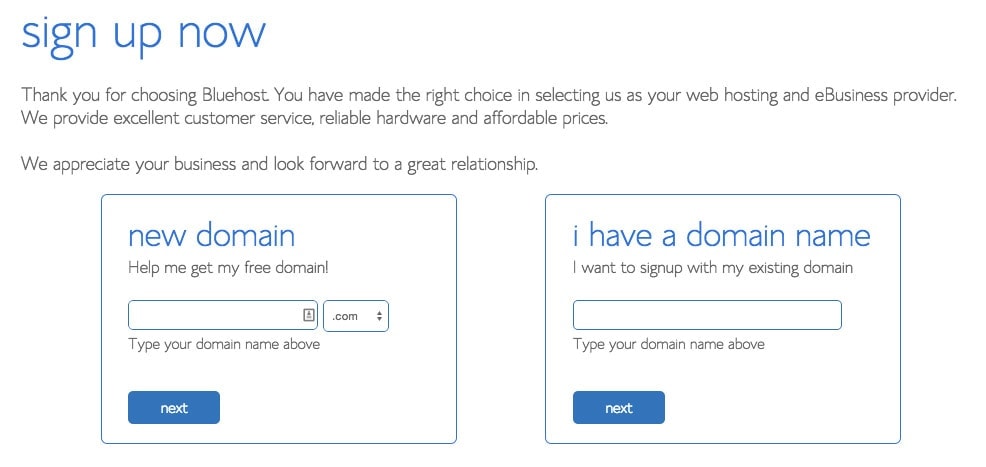
Next see if the domain name you had in mind is available. You can also try .co, .me, .ca you have a few options. It’s up to you. Enter in your name and click next.
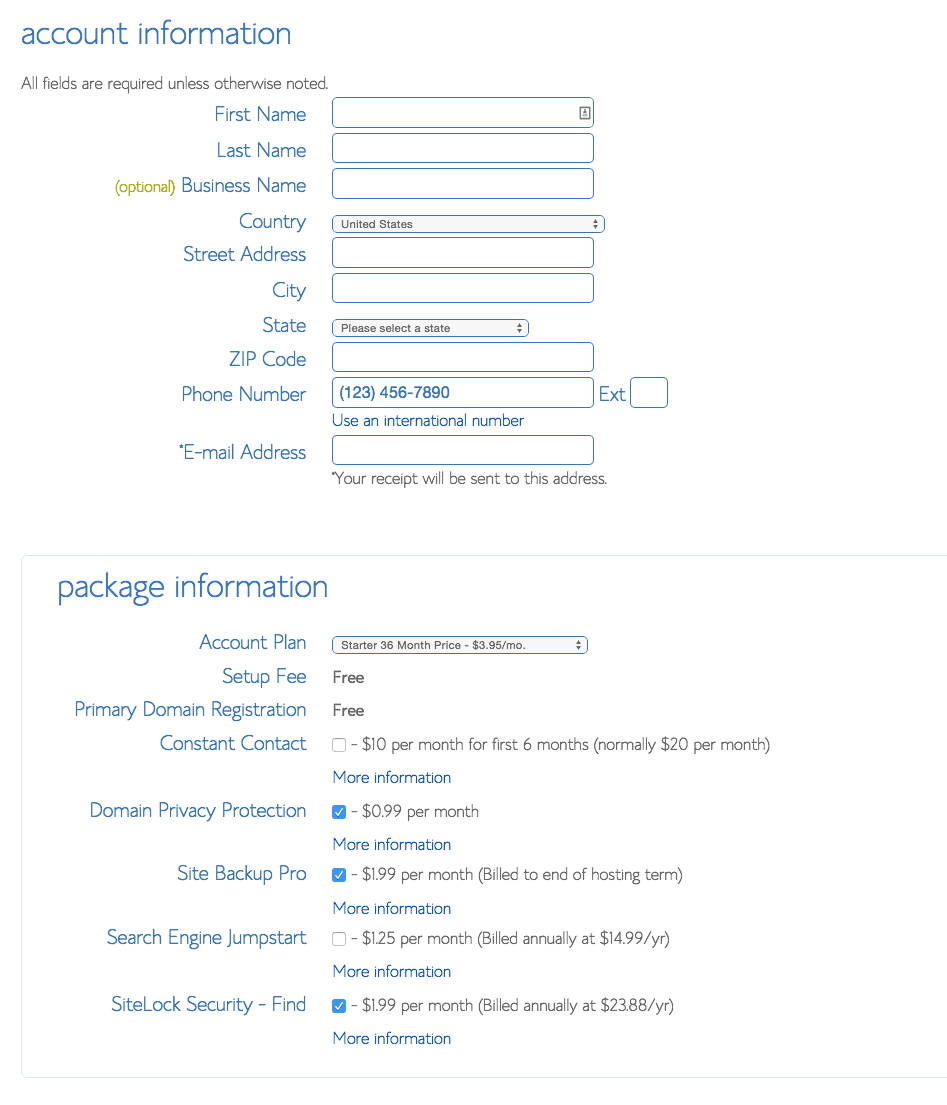
Fill out your account, billing and package information. If you can pay for the entire year or three years up front. It saves you from having to worry about it every month.
If you select the 36-month term is $3.95 per month, the 24-month term is $4.95 per month, and the 12-month term is $5.95 per month. It’s quite a deal because once the deal is over you’re going to go to their regular prices which start at $24.99 a month!
Fill out all fields to place your order and wait for your account information to be emailed.
2. Install WordPress
Bluehost has a very awesome “Quick Install” option for setting up your blogging software. I use WordPress as my CMS (content management system); it’s very easy to use, and it offers so many free resources.
The images below will walk you through the steps to set this part up.
1. Login to your cPanel (this information was emailed to you), navigate to the MOJO marketplace section.
2. Click on the One-Click Installs icon.

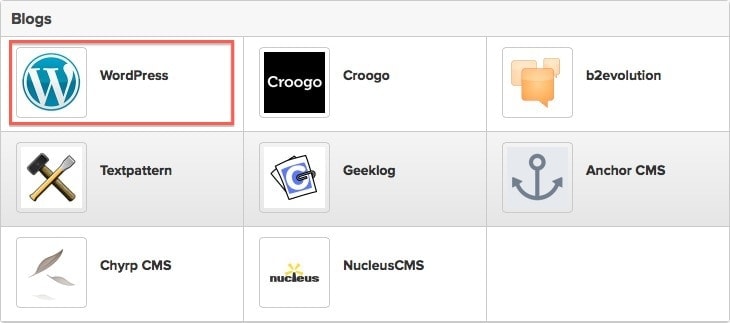
3. Select WordPress.
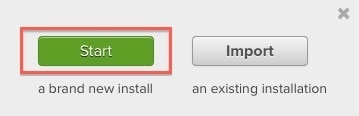
4. Click the start button.
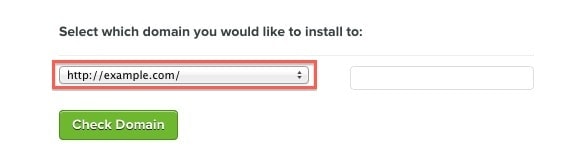
5. Select the install to install it to. Since it’s your first blog you should have the domain you just purchased. You also want to leave the box to the right of it blank because you want the main domain to be your blog.
6. If necessary, you can edit the email address, username and password for the new WordPress installation. Click “advanced options” and you can change those settings.
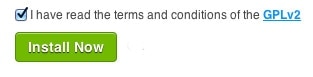
7. Read through the license and service agreements and check the boxes.
8. Select the Install Now button.
Once those steps are complete log-in to your WordPress website! Your WordPress log-in is going to be http://yourdomain.com/wp-admin. You’ll see a login screen like the one below. Enter your username and password and your ready to start making it look nice!
3. Make your blog look Stylish!
All the “hard” stuff is behind you! Take a breather because your blog is all set up now – it’s all cake from here.
Now this is where the fun begins – well, my favorite part.
Making your fashion blog look beautiful is essential to having a kick ass blog that reflects who you are. You have thousands of options. There are many free themes, premium themes (which are ones you pay for), or you can hire a designer to make a custom theme especially for you!
I started off with a premium blog theme from Themeforest – they have many gorgeous options that might work perfectly for you.
A year into my blog, I created my own stylish, one of a kind designs for my blog. Yes, I built it. 🙂
My WordPress theme design is custom built with love by my digital agency. My experience with coding and graphic design enabled me to beautify my blog from scratch – so, if you want a custom design feel free to contact me and we can work on your unique fashion blog together.
That’s it! Your fashion blog is up and running! Now it’s time to write that first blog post! Good luck!
Feel free to email be if you have any question about how to start a fashion blog! I’d love to help you out!